To encode, you're going to need Coagula (Windows-only), and to decode you'll need Sonic Visualizer(Windows/Mac OS X/Linux). You can watch the video above for a visual walkthrough, but here are the steps you need to follow:
- Create an image you want to encode. White text on a black background works well, and it helps to have a small image without too much empty space. Save it out as a JPEG or BMP.
- Open the image in Coagula and click the setting for "Render Image as Audio Without Blue/Noise." Be sure to choose this option as the other rendering option will not work.
- When you're done a new audio file entitled "Coagula.wav" will be in the same folder as the Coagula application. You can either go grab that file or you can save it out to a location of your choice by choosing "Save Audio File" as from the file menu. That's it. Message encoded!
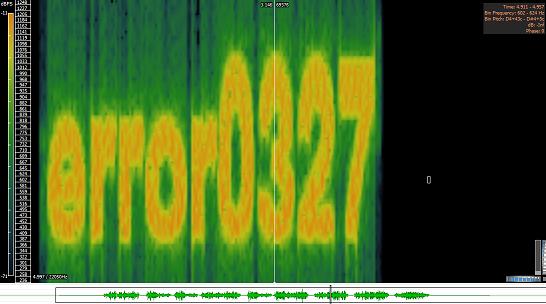
- To decode the message, open it in Sonic Visualizer. You'll see the audio spectrum but not the message. To view the message, go to the Layout menu and choose "Add Spectrogram" (any of the options in the submenu should be fine). You may need to adjust the way you're viewing it, but you should now be able to see your hidden message.
Comments